Secure Your Windows Server Essentials: A Comprehensive Guide
Delve into the realm of cybersecurity with our comprehensive guide, “How to Configure Windows Server Essentials for Security.” In this engaging exploration, we’ll unravel the intricacies of securing your Windows Server Essentials, empowering you to safeguard your critical data and systems from malicious threats.
As the digital landscape evolves, it’s imperative to stay ahead of the curve when it comes to cybersecurity. This guide will equip you with the knowledge and practical steps to effectively configure your Windows Server Essentials for optimal security, ensuring the integrity and confidentiality of your valuable assets.
Configuring Windows Server Essentials Firewall
The Windows Server Essentials Firewall is a critical component of your network security. It helps protect your server from unauthorized access and malicious attacks by monitoring and controlling incoming and outgoing network traffic.
To configure the firewall, follow these steps:
- Open the Server Manager console.
- Click on the “Local Server” tab.
- In the “Security” section, click on the “Windows Firewall” link.
- In the “Windows Firewall” window, click on the “Turn Windows Firewall on or off” link.
- Select the “On (recommended)” option and click on the “OK” button.
Once the firewall is enabled, you can configure firewall rules to allow or deny specific types of traffic.
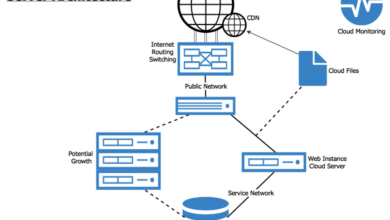
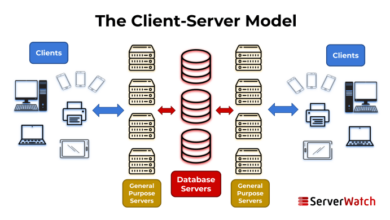
Securing Windows Server Essentials requires a multi-pronged approach. Implementing best practices such as strong passwords, firewall configurations, and regular updates is crucial. For a comprehensive understanding of server design, refer to the Cloud diagram server design guide. This resource provides insights into server architecture, networking, and security considerations.
By integrating these measures, you can enhance the security posture of your Windows Server Essentials environment, ensuring the protection of sensitive data and maintaining business continuity.
To create a firewall rule, follow these steps:
- In the “Windows Firewall” window, click on the “Inbound Rules” or “Outbound Rules” tab.
- Click on the “New Rule” link.
- In the “New Inbound Rule Wizard” or “New Outbound Rule Wizard”, select the type of rule you want to create.
- Follow the prompts in the wizard to complete the rule creation process.
Here are some examples of firewall rules that you can create:
- Allow incoming traffic on port 80 (HTTP).
- Allow incoming traffic on port 443 (HTTPS).
- Deny incoming traffic from a specific IP address.
- Allow outgoing traffic to a specific IP address.
Enabling Windows Server Essentials Security Updates
Maintaining the latest security updates for Windows Server Essentials is crucial for protecting your network and data from vulnerabilities and threats. Regular updates address known security flaws, patch software bugs, and enhance the overall stability and security of your server.
To enhance the security of your Windows Server Essentials environment, it’s crucial to configure it meticulously. In this regard, it’s advisable to draw inspiration from established best practices, such as those outlined in the “Cloud diagram server best practices” guide here . These practices can provide valuable insights into securing your server infrastructure and complement the specific configuration steps required for Windows Server Essentials.
Enabling Automatic Updates
To ensure your server receives updates automatically, follow these steps:
- Open the Server Manager console.
- Click “Local Server” in the left pane.
- Under “Properties,” click “Windows Update Settings.”
- Select “Install updates automatically” and choose the desired frequency.
- Click “OK” to save the changes.
Manually Checking for and Installing Updates
If you prefer to manually check for updates, follow these steps:
- Open the Server Manager console.
- Click “Windows Update” in the left pane.
- Click “Check for updates.”
- If updates are available, click “Install now.”
- Follow the on-screen prompts to complete the installation.
Implementing Antivirus and Anti-Malware Software: How To Configure Windows Server Essentials For Security
Antivirus and anti-malware software play a crucial role in protecting your Windows Server Essentials environment from malicious attacks. These tools detect, prevent, and remove viruses, malware, and other threats that can compromise the security and stability of your server.
When choosing antivirus and anti-malware software, it’s essential to select reputable vendors with a proven track record of effectiveness. Some recommended options include:
- Microsoft Defender Antivirus (built-in with Windows Server Essentials)
- Norton Security
- Kaspersky Endpoint Security
- ESET Endpoint Security
- Avira Antivirus
Once you have selected your antivirus and anti-malware software, follow these steps to install and configure it:
- Download the software from the vendor’s website.
- Run the installation wizard and follow the on-screen instructions.
- Configure the software’s settings according to your organization’s security policies.
- Enable automatic updates to ensure the software remains up-to-date with the latest virus and malware definitions.
- Schedule regular scans to detect and remove any potential threats.
Configuring Windows Server Essentials User Accounts
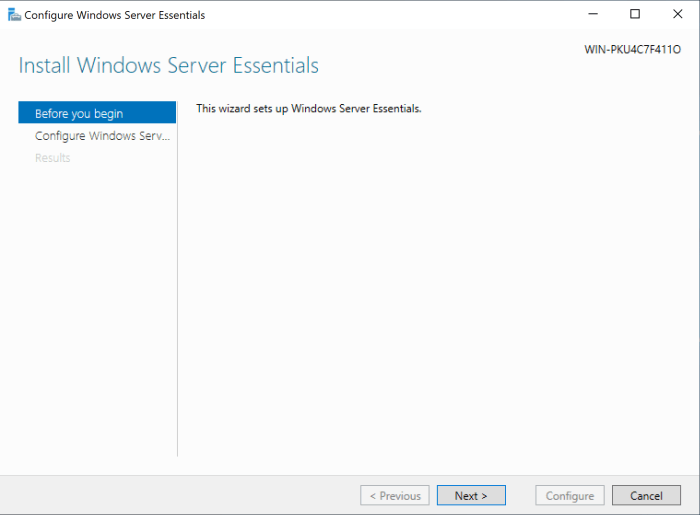
Configuring user accounts in Windows Server Essentials is a crucial step in maintaining the security of your server and network. By creating strong user accounts and managing user permissions effectively, you can prevent unauthorized access to sensitive data and minimize the risk of security breaches.
Creating Strong User Accounts, How to configure Windows Server Essentials for security
Strong user accounts are essential for preventing unauthorized access to your server. Here are some best practices for creating strong user accounts:
- Use complex passwords that are at least 12 characters long and include a combination of uppercase, lowercase, numbers, and symbols.
- Avoid using common words or personal information in your passwords.
- Change your passwords regularly, at least every 90 days.
- Disable accounts that are no longer in use.
Types of User Accounts and Permissions
Windows Server Essentials supports different types of user accounts, each with its own set of permissions. The most common types of user accounts are:
- Administrator:This account has full control over the server and can make any changes to the system.
- Standard user:This account has limited permissions and can only perform tasks that are explicitly granted to them.
- Guest:This account is used for temporary access to the server and has very limited permissions.
When creating user accounts, it is important to assign the appropriate permissions based on the user’s role and responsibilities.
Enabling Windows Server Essentials Auditing
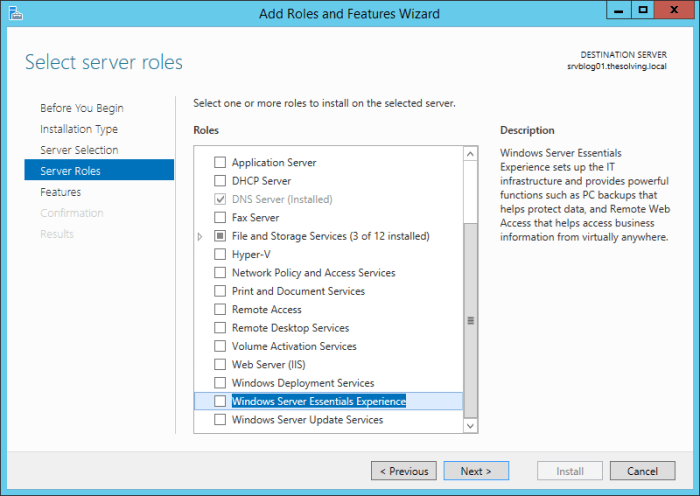
Windows Server Essentials auditing is a valuable tool that can help you improve the security of your network by tracking and recording user activity. This information can be used to identify potential security breaches, troubleshoot problems, and ensure compliance with regulatory requirements.
Steps to Enable Auditing
- Open the Local Security Policy console.
- Navigate to Local Policies > Audit Policy.
- In the right pane, double-click Audit object access.
- Select the Success and Failure check boxes.
- Click OK.
Viewing and Analyzing Audit Logs
Once auditing is enabled, you can view and analyze audit logs in the Event Viewer. To do this, open the Event Viewer console and navigate to Applications and Services Logs > Microsoft > Windows > Audit.
The audit logs will contain a variety of information, including the date and time of the event, the user who performed the action, the object that was accessed, and the type of access that was attempted.
You can use the Event Viewer to filter the audit logs by date, time, user, or object. You can also export the audit logs to a file for further analysis.
Conclusive Thoughts
By implementing the strategies Artikeld in this guide, you’ll gain peace of mind knowing that your Windows Server Essentials is well-protected against a wide range of security threats. Embrace a proactive approach to cybersecurity and safeguard your critical data and systems with confidence.
